

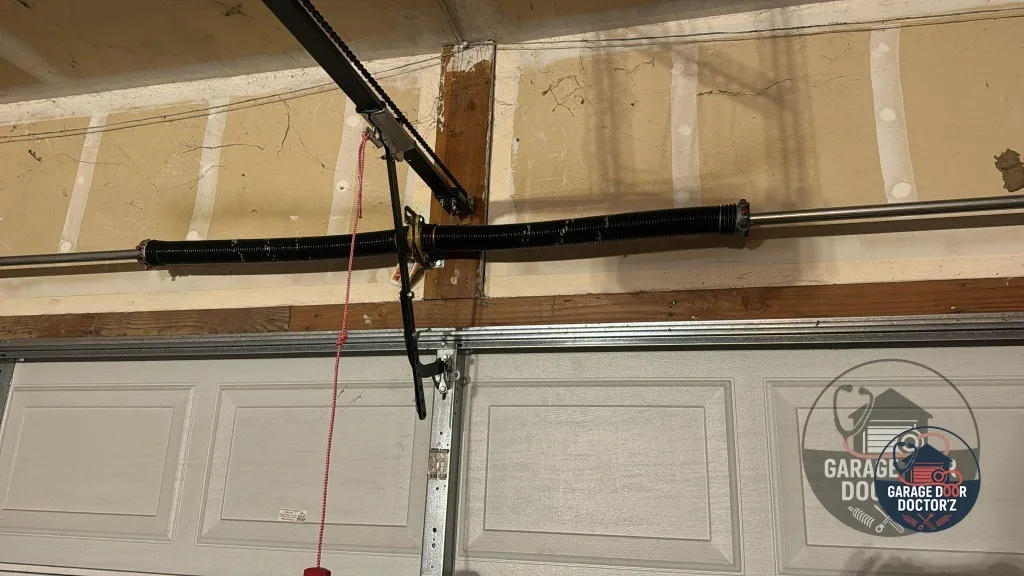
"Replacing a broken garage door torsion spring is one of the most highly requested repair guides. While we always advocate for professional installation due to extreme tension and physical risks, understanding the exact step-by-step process helps you make an informed decision. Watch our on-site video walkthrough and read our detailed explanation of how a professional torsion spring replacement is executed."
Watch Our Complete Step-by-Step Video Demonstration
Before diving into the mechanical steps, watch our certified technician perform a complete on-site torsion spring replacement. This video shows the specialized tools, winding precision, and safety precautions required to execute this repair safely.
💡 Tip: If the player above shows a playback error (e.g., Error 153 due to device or privacy settings), click the red button to watch the full tutorial directly on YouTube!
The Step-by-Step Professional Torsion Spring Replacement Process
Replacing torsion springs is a highly calculated mechanical procedure. Here is the step-by-step workflow our certified technicians follow on every spring service, complete with dedicated video Shorts for each phase:
Step 1 Release Torsion Spring Tension
Even when one torsion spring has snapped, the remaining spring on the opposite side of the center bracket is still wound under immense tension. To release it safely:
- We insert a solid steel winding bar into the spring's winding cone, keeping a firm two-handed grip.
- We loosen the set-screws on the cone, taking on the full stored weight of the spring.
- We carefully back down the spring quarter-turn by quarter-turn until all tension is completely gone.
Step 2 Disconnect from Center Anchor Bracket
With the high tension fully released and both springs completely inert, we unbolt the stationary cones of both springs from the central center anchor bracket that is secured directly to the wooden header.
- We inspect the center bracket for wood splitting or bending.
- We remove the two retaining bolts and slide the springs apart.
Step 3 Slide Torsion Shaft & Remove Old Springs
Next, we loosen the hardened set-screws on the aluminum cable drums at each end of the shaft. We slide the solid steel torsion shaft slightly to one side to clear the end bearing plates, allowing us to slide off the old springs and aircraft cables safely.
- We check the torsion shaft for bowing, scoring, or heavy rust.
- We thoroughly inspect the end bearing plates for worn-out bearings that cause metal friction.
Step 4 Mount New Springs (Wind Direction Selection)
Garage door springs are wound in opposite directions: Left-Hand Wound (LHW) and Right-Hand Wound (RHW).
- The spring with the red winding cone is installed on the right side (from the inside looking out).
- The spring with the black winding cone is installed on the left side.
- Warning: Installing them on the wrong side will cause the springs to unwind rather than wind when the door closes, resulting in immediate structural failure!
Step 5 Re-install Drums and Cable Winding
We slide the shaft back into the end bearing plates, secure the center anchor bracket, and run brand-new galvanized aircraft cables down to the bottom corner brackets. We wind the cables tightly around the aluminum drums, lock them in place, and clamp the shaft to keep both cables perfectly taut.
- We make sure the cables run perfectly in the drum grooves.
- We check for equal tension on both sides to prevent a crooked door.
Step 6 Wind New Springs (Counting Quarter-Turns)
Using two steel winding bars in tandem to safely wind the spring coils:
- We wind the springs by counting quarter-turns. A standard 7-foot tall garage door typically requires 30 to 32 quarter-turns (7.5 to 8 full turns).
- Once wound, we secure the hardened set-screws on the winding cone to lock the spring to the shaft.
- We paint a white line across the spring coils before winding so we can visually count the active turns!
Step 7 Perform Balance and Safety Reversal Tests
With the new springs fully secured, we pull the red manual release cord and lift the door halfway by hand. A perfectly balanced door will hover in place without falling down or shooting up. We then re-engage the opener and perform the standard safety reversal test.
- The door must easily stay balanced at the 3-foot mark.
- We place a 2x4 block on the ground to test that the auto-reverse system shuts down and reverses correctly upon contact.
Watch Our YouTube Shorts for Quick Maintenance Tips!
For quick diagnostic guides, spring measurement tips, and on-site repair highlights, check out our YouTube Shorts channel! We upload regular helpful clips directly from our daily service calls.
Measuring Spring Sizes
See how we measure wire size, inside diameter, and coil length to select the perfect replacement spring.
Watch ShortSafety Winding Bars
A quick look at the proper safety techniques and body positioning when winding high-tension torsion springs.
Watch ShortDoor Balance Test
Watch a quick demonstration of pulling the release cord and testing if the springs hold the door balanced.
Watch Short